Effective bitumen roof repair starts with finding where water enters and checking what it has damaged below the surface. A small puncture, split, or open seam may accept a compatible reinforced patch. Widespread blistering, saturated insulation, a soft deck, or recurring leaks call for professional investigation and may make restoration or replacement more sensible.
The damp mark indoors is only a clue. Water can move across decking, insulation joints, or structural members before appearing. Sealant placed above the stain may miss the entry and trap moisture. The correct response depends on membrane type, substrate condition, drainage, weather, and warranty.
Quick Answer
Bitumen roofing can often be repaired when damage is localized and the surrounding membrane, insulation, and roof deck remain sound and sufficiently dry. Durable work requires accurate leak tracing, compatible materials, proper preparation, reinforcement, and sealed edges. Coatings cannot correct wet insulation, structural movement, failed drainage, or widespread membrane deterioration.
Start Indoors, Then Trace the Water Path
Document the first signs before disturbing the roof. Note when dripping starts, how long it continues, and whether wind, snowmelt, or equipment operation affects it. Photograph stains and record nearby drains, parapets, skylights, vents, and rooftop units. These clues narrow the search but do not locate the opening alone.
On a low-slope roof, water may enter at an open lap, flashing, drain, curb, puncture, or termination. It can then travel under the membrane until it finds a deck joint or fastener path. A ceiling stain several feet from the entry is entirely possible.
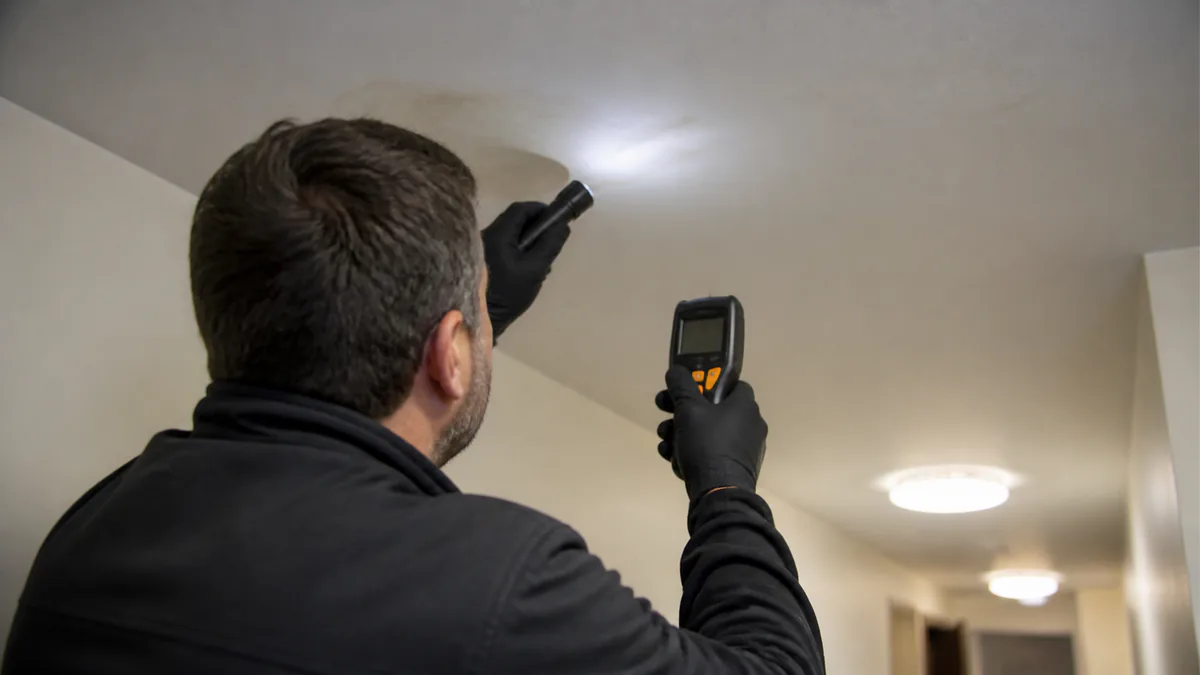
A professional survey may use moisture meters, infrared thermography, electronic leak detection, or selected test cuts. Each method has limits. Infrared patterns show temperature differences requiring interpretation. A core sample verifies one location but creates an opening that must be restored.
Do not walk onto a roof that feels soft, has a questionable deck, lacks safe access, or is wet, icy, windy, or close to electrical hazards. Restrict the area and arrange an assessment.
Read the Damage Before Selecting a Product
Not every visible defect is the leak source, and one symptom can have several causes. The following table is a triage tool rather than a remote diagnosis.
| Observed condition | Possible meaning | Sensible response |
|---|---|---|
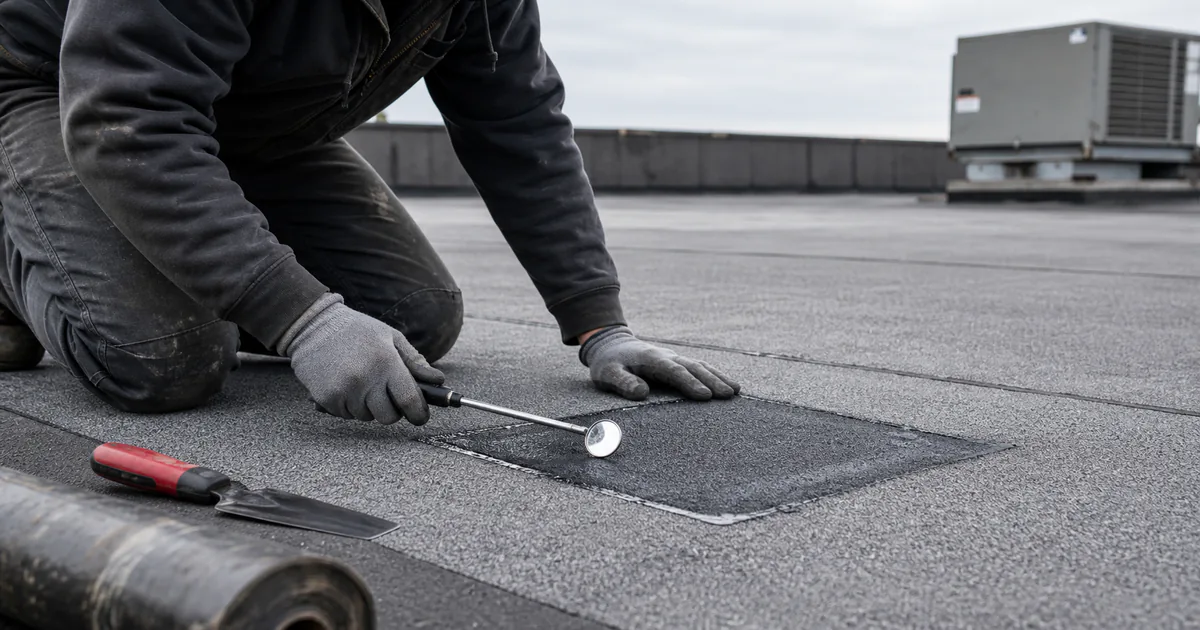
| Small, clean puncture | Local impact or foot-traffic damage | Confirm dry, sound layers and consider a compatible reinforced patch |
| Open seam or fishmouth | Adhesion loss, movement, or installation defect | Examine the full lap and test for nearby moisture |
| One blister | Trapped air or moisture | Determine its contents and cause before disturbing it |
| Blisters across a broad area | Systemic moisture or adhesion failure | Obtain a roof survey and compare larger-scale options |
| Membrane split | Thermal stress, shrinkage, or structural movement | Inspect the assembly and stress point, not only the split |
| Failed flashing | Movement or poor detailing at a wall, curb, or penetration | Reconstruct the detail using a compatible system |
| Ponding water | Blockage, inadequate slope, or deck deflection | Resolve drainage or structure instead of relying on surface patching |
| Soft area underfoot | Wet insulation or deteriorated decking | Stop access and request professional investigation |
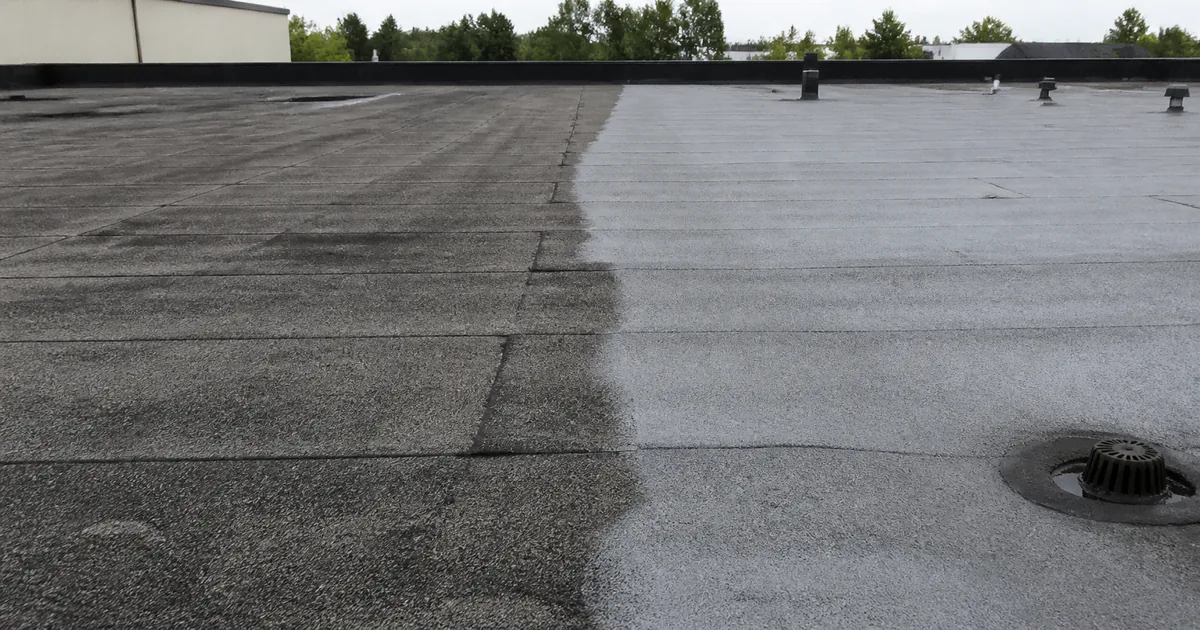
| Extensive surface cracking | Advanced aging and reduced flexibility | Compare coating eligibility, recover, and replacement |
Granule loss can accelerate cap-sheet weathering but does not reveal conditions below. Wrinkles may reflect movement or poor adhesion, while edge uplift may involve wind or attachment failure.
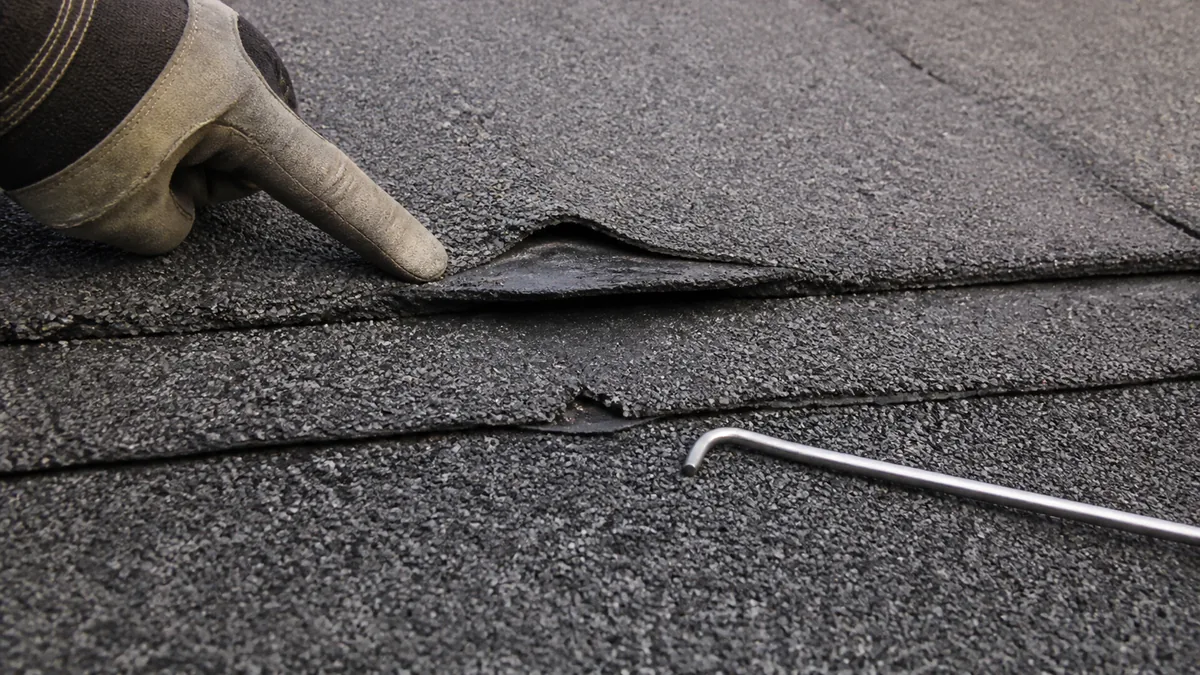
Confirm Which Roof System You Have
Modified bitumen is a reinforced asphalt membrane for low-slope roofs. It may have mineral granules or a smooth finish. North American terms include mod-bit and torch-down roofing. UK usage includes bitumen or mineral felt, while Australia and New Zealand often use torch-on membrane.
SBS, or styrene-butadiene-styrene, modifies asphalt to create rubber-like flexibility. APP, or atactic polypropylene, gives the membrane plastic-like properties and heat resistance. These categories can look similar after weathering, yet their installation and approved repair materials may differ.
Not every black roof is modified bitumen. It may be built-up roofing, coated felt, or another membrane hidden beneath repairs. Check records, labels, warranties, and test information. Confirm uncertain systems before selecting materials.
Smooth and granulated surfaces require different preparation. Loose granules, oxidation, coatings, dirt, and old mastics can impair adhesion. Compatibility must cover membrane, primer, adhesive, reinforcement, patch, and final coating.
What a Durable Localized Repair Involves
A lasting repair does more than cover the visible opening. The surrounding roof must be stable enough to receive it, and the assembly below should not contain damage that needs removal.
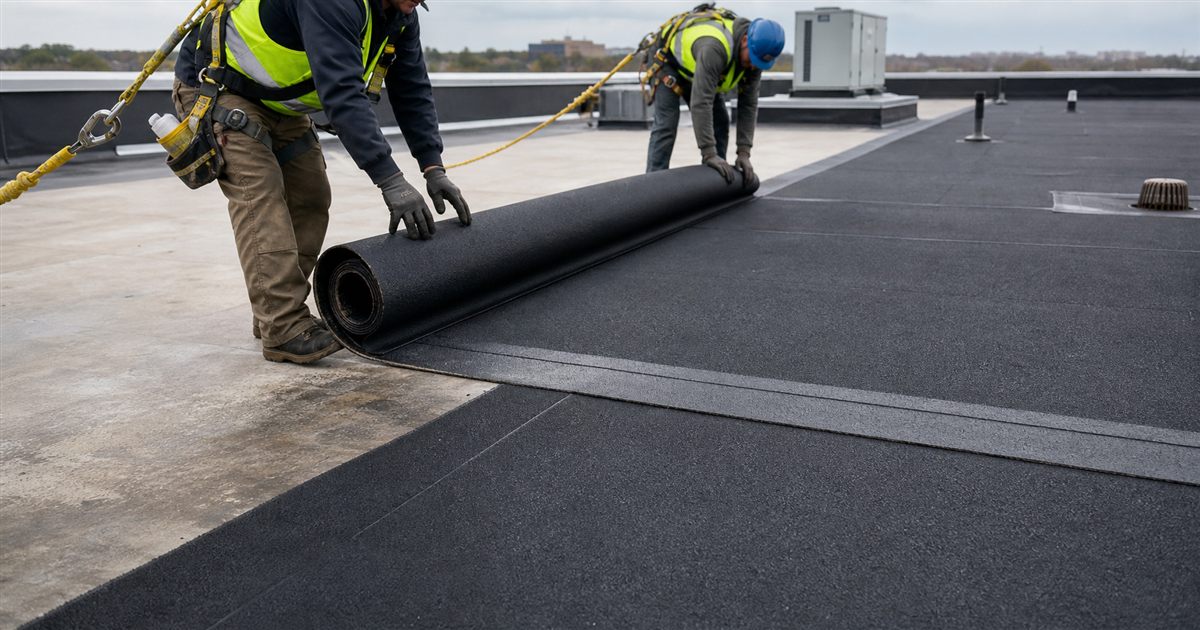
The general sequence is assessment, moisture investigation, cleaning, drying, removal of unsound material, preparation, and installation of an approved repair assembly. Systems may require primer, compatible compound and reinforcing fabric, or a membrane patch with specified overlap. Edges must prevent water entry.
That overview is intentionally high-level. Exact temperatures, primers, adhesives, overlap dimensions, curing conditions, and application methods come from the selected manufacturer and roof specification. Ordinary household caulk is not a permanent substitute for a designed membrane repair.
Torch application is specialist hot work involving flame, propane, concealed combustibles, and delayed fire risks. It may require permits, a fire watch, extinguishing equipment, trained workers, and site controls. It is not a DIY process.
Cold-applied and self-adhered products remove the open flame but not the need for correct identification, safe roof access, dry conditions, or compatible materials. A peel-and-stick label does not guarantee adhesion to an aged, dusty, coated, or damp roof.
Match the Repair Scope to the Failure
The smallest patch is not always the least expensive decision. Repair scope should extend far enough to reach sound, dry construction and address the reason the defect developed.
| Option | Where it can make sense | What it cannot solve |
|---|---|---|
| Reinforced localized patch | An isolated puncture, tear, or split with sound surroundings | Widespread wet insulation or movement |
| Seam repair | A limited open lap after the seam is fully examined | Systemic adhesion loss along many laps |
| Flashing reconstruction | Failure at a wall, curb, drain, edge, or penetration | Uncorrected movement or poor underlying design |
| Liquid-applied reinforcement | Approved complex details and restoration work | Incompatible or moisture-laden substrates |
| Roof coating system | A repairable, prepared roof after active defects are resolved | Structural damage, saturated insulation, or failed drainage |
| Partial replacement | Concentrated damage that reaches insulation or deck | Deterioration extending beyond defined boundaries |
| Complete replacement | Widespread failure or an unsound roof assembly | It carries higher initial cost and disruption |
A coating may protect a suitable membrane, but defects must be repaired first. Trapped moisture can accelerate deterioration and obscure conditions. Restoration may require testing and moisture mapping.
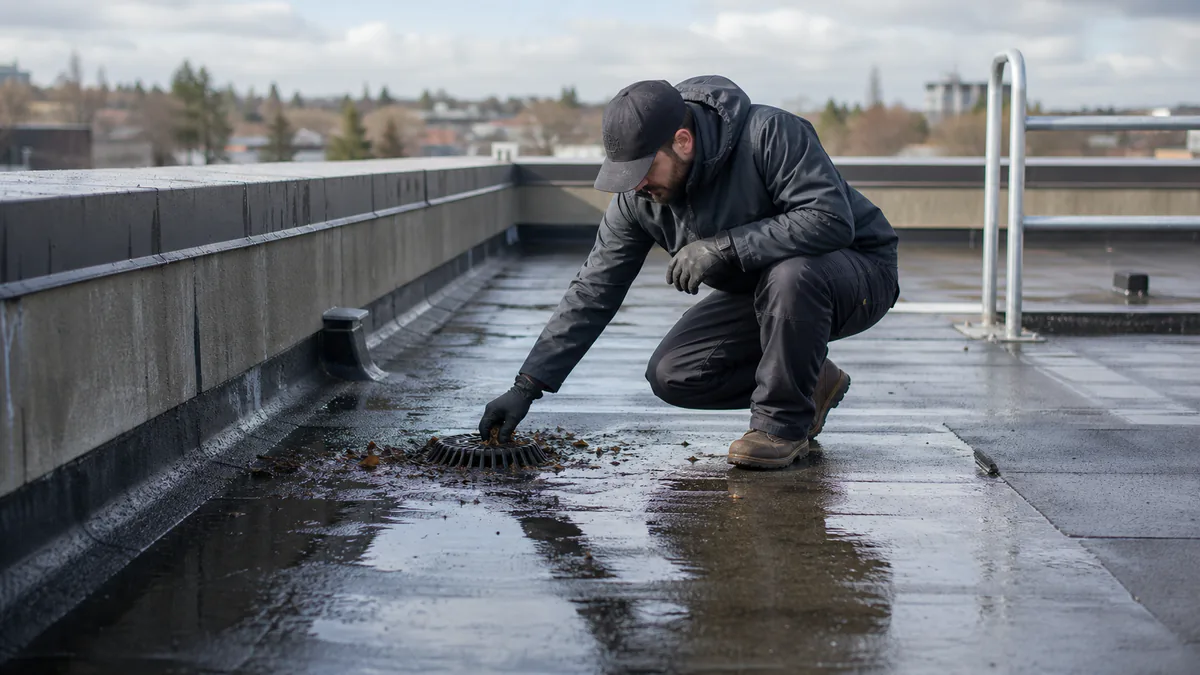
Ponding water needs separate attention. Clearing a blocked drain may solve one cause. Inadequate slope, compressed insulation, or deck deflection requires a designed correction. Smearing more compound over low spots does not create reliable drainage.
Emergency Control Is Not the Finished Repair
During an active leak, protect occupants, electrical equipment, stock, and finishes. Collect water safely, have qualified personnel isolate electrical hazards, and document the event. Contact the insurer before storm evidence is removed.
A compatible temporary patch or emergency covering may reduce further entry until the surface dries and proper work can begin. Its purpose, expected exposure, and inspection date should be documented. Products marketed for wet application still have limits, and nothing should be applied from an unsafe roof during severe weather.
Handle temporary material according to the permanent system’s requirements. Emergency mastic beneath an incompatible patch can weaken adhesion. Repeated covering without investigating moisture or movement makes later repair harder.
Estimating Materials Without Mistaking Quantity for Diagnosis
A roofing-material calculator becomes useful after the repair design is known. It can estimate membrane, reinforcing fabric, primer, adhesive, or coating from measured dimensions and published coverage rates. It cannot decide whether the deck is sound or whether a patch is appropriate.
Suppose a designed sheet patch must finish at 4 feet by 5 feet after the required overlap is included:
Patch area = 4 ft × 5 ft = 20 square feet
If three identical repairs are needed:
Total nominal patch area = 20 sq ft × 3 = 60 square feet
That result excludes waste, detail pieces, substrate work, primer, and specified laps. Base waste on roll dimensions and layout. For coatings, include approved parapets and upstands, then apply the published coverage and coat count. Do not replace thickness requirements with a generic gallon-per-area assumption.
Measure repair patches separately from a whole-roof coating project. Coverage values must come from the selected product’s current technical data, not from another brand or a general bitumen calculator.
What Determines Bitumen Roof Repair Cost?
There is no reliable global price per square foot or square meter. A visible hole may be inexpensive to cover but costly to correct if water has spread through insulation. Conversely, a large dry surface can sometimes receive planned restoration more efficiently than many scattered emergency visits.
Cost is shaped by:
-
roof size and number of defects
-
membrane type and number of existing layers
-
wet insulation or deck replacement
-
flashing and penetration complexity
-
access, height, fall protection, and occupied-building controls
-
drainage or structural work
-
compatible primer, membrane, reinforcement, and coating quantities
-
local labor, disposal, permits, and weather
-
warranty, testing, and documentation requirements
A written quote should identify surveyed areas, defects, moisture findings, preparation, materials, overlaps, flashing, drainage exclusions, safety, waste removal, access, warranty, and change-order terms. Ask what happens if hidden wet insulation is found.
Do not compare bids by total price alone. One may cover a surface patch while another includes removing wet materials and rebuilding the assembly. Those are not equivalent scopes.
Repair, Restore, or Replace?
Localized modified bitumen roof repair generally makes sense when damage is limited, the membrane retains useful flexibility, seams outside the affected area remain secure, and moisture has not spread. Restoration may suit a weathered but fundamentally sound roof after defects are corrected and compatibility is confirmed.
Replacement becomes more credible when leaks recur across unrelated locations, moisture is widespread, decking has deteriorated, flashing details repeatedly fail, membrane adhesion is broadly lost, or previous repairs cover much of the surface. Building-code limits on additional roof layers, insulation requirements, and warranty conditions can also affect the choice.
Age alone should not decide. Installation, UV exposure, drainage, foot traffic, storms, and maintenance make equal-age roofs perform differently. Condition is a better basis than a generic lifespan.
Safety and Post-Repair Checks
Roof work combines height, wet surfaces, ladders, tools, chemicals, and electrical equipment. Follow applicable fall-protection, access, PPE, ventilation, and hazardous-material requirements. Work plans must address occupants, rooftop equipment, fumes, and fire controls.
Professional assessment is especially appropriate for soft decking, widespread moisture, major flashing failure, structural movement, storm or wind damage, recurrent leaks, inaccessible roofs, and work covered by a manufacturer warranty. Repairs that alter drainage or the roof assembly may require permits or design review.
After completion, inspect patch edges, seams, transitions, drains, and nearby membrane. Remove debris and excess material. Record photographs, products, dimensions, weather, contractor details, and warranty documents. Recheck after rainfall and during future inspections.
Preventive bitumen roof maintenance should keep drains, gutters, and scuppers clear; control unnecessary foot traffic; maintain designated walkways; and address small openings before water spreads. Inspections after major storms can reveal damage that was not present during routine checks.
Frequently Asked Questions
Can a modified bitumen roof be repaired?
Yes, localized punctures, splits, open seams, and flashing defects can often be repaired when the surrounding membrane and underlying assembly remain sound and sufficiently dry. Widespread blistering, wet insulation, weak decking, or repeated leaks require a broader assessment and may favor partial or complete replacement.
How do I find a leak in a bitumen roof?
Begin by recording when and where moisture appears indoors, then inspect likely roof entry points such as laps, flashings, penetrations, drains, and edges. The opening may be far from the stain. Professional moisture mapping, electronic detection, or test cuts may be needed when water has migrated within the assembly.
Can roofing cement permanently repair a bitumen roof?
Compatible roofing cement can be part of an approved reinforced repair or temporary water-control measure. A thick smear over dirt, moisture, or moving material is not automatically permanent. Product compatibility, surface preparation, reinforcement, edge treatment, and the condition below the membrane determine whether the work is durable.
Can roof coating stop a modified bitumen leak?
A coating can protect a suitable roof after active leaks, open seams, wet materials, and flashing defects are addressed. It should not be used to hide trapped moisture or structural problems. The membrane must be assessed, prepared, and tested for compatibility with the proposed coating system.
Should bitumen roof blisters be opened?
Not before their cause and contents are understood. A blister may contain air or moisture, and opening it creates a larger repair. Isolated blisters and widespread blistering represent different conditions. A roofer should determine whether the area can remain, needs localized reconstruction, or signals broader adhesion or moisture failure.
Can a bitumen roof be repaired in wet weather?
Some emergency products allow limited use on damp surfaces, but permanent membrane work generally depends on suitable weather and a prepared substrate. Rain, standing water, wind, cold, and condensation can undermine adhesion and increase fall hazards. Follow the repair-system limits and never access the roof in unsafe conditions.
When should I replace rather than patch the roof?
Replacement may be more practical when moisture is widespread, the deck is damaged, seams fail throughout the roof, surface cracking is extensive, or repairs recur in unrelated areas. Code restrictions, insulation targets, drainage design, and existing roof layers should also be considered before approving another patch.
How much repair material do I need?
Calculate each designed patch using its finished length and width, including required overlap. Multiply by the number of patches, then allow for layout waste and detail pieces. Primer, adhesive, fabric, and coatings use separate coverage rates. A calculator estimates quantity only after the repair system and dimensions are confirmed.
Make the Condition Decide the Scope
The soundest bitumen roof repair plan connects an observed leak to the actual entry point, the moisture extent, and the condition of every affected layer. Only then can a compatible patch, flashing repair, restoration coating, partial replacement, or new roof be evaluated fairly.
Measure materials after that decision, not before it. Accurate dimensions can prevent shortages, but no calculator can detect wet insulation, unsafe decking, or poor drainage. Careful diagnosis, safe access, compatible materials, and documented follow-up are what turn a surface treatment into a defensible roofing repair.

About the author
Misbah Shafique
Misbah Shafique writes practical guides on bitumen and asphalt quantities, paving calculations, material estimates, and project planning. Her work helps readers understand the numbers behind road, driveway, and construction jobs.
Plan your next project
Estimate bitumen before you order.
Use the calculator to turn your area and thickness into a practical material estimate.